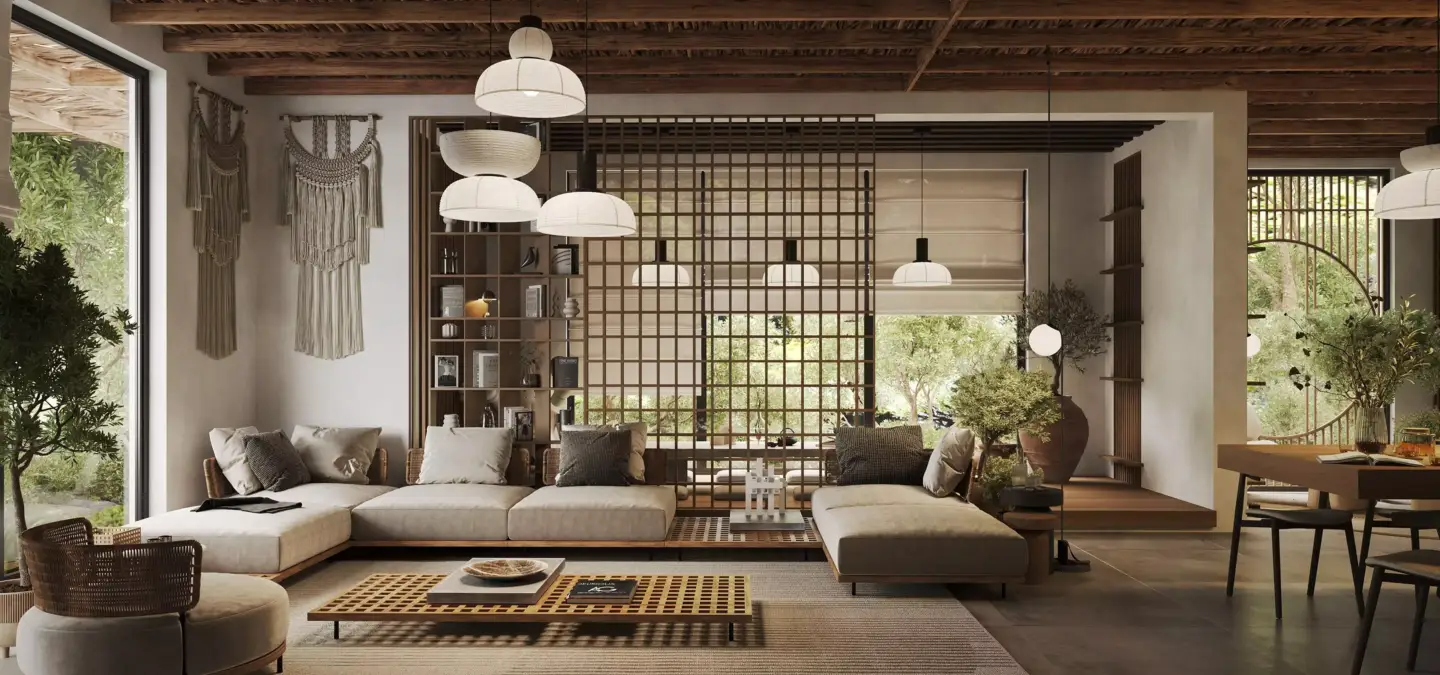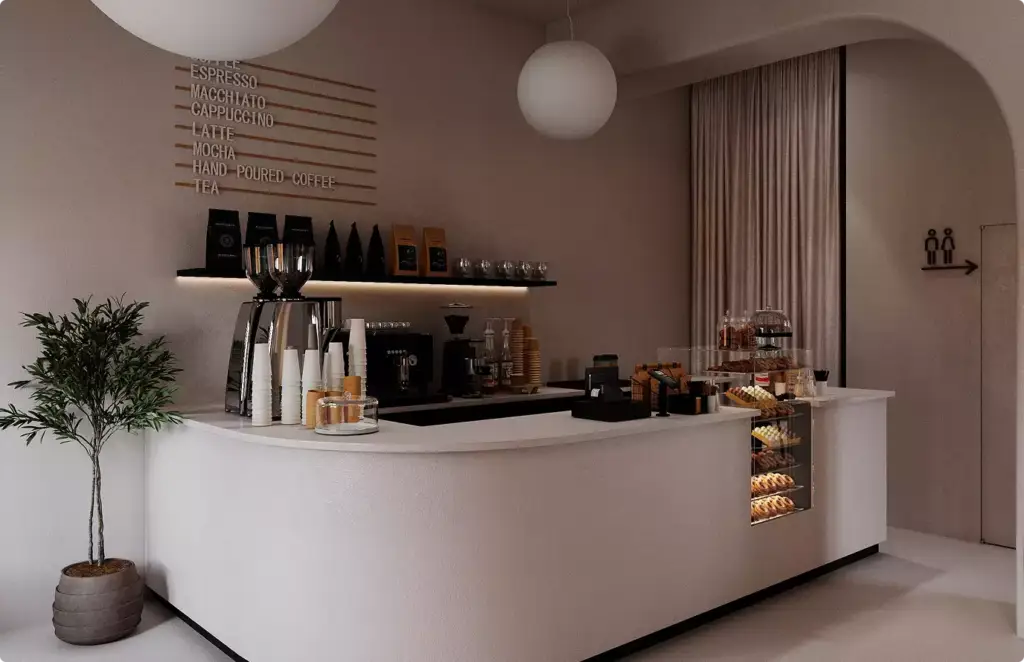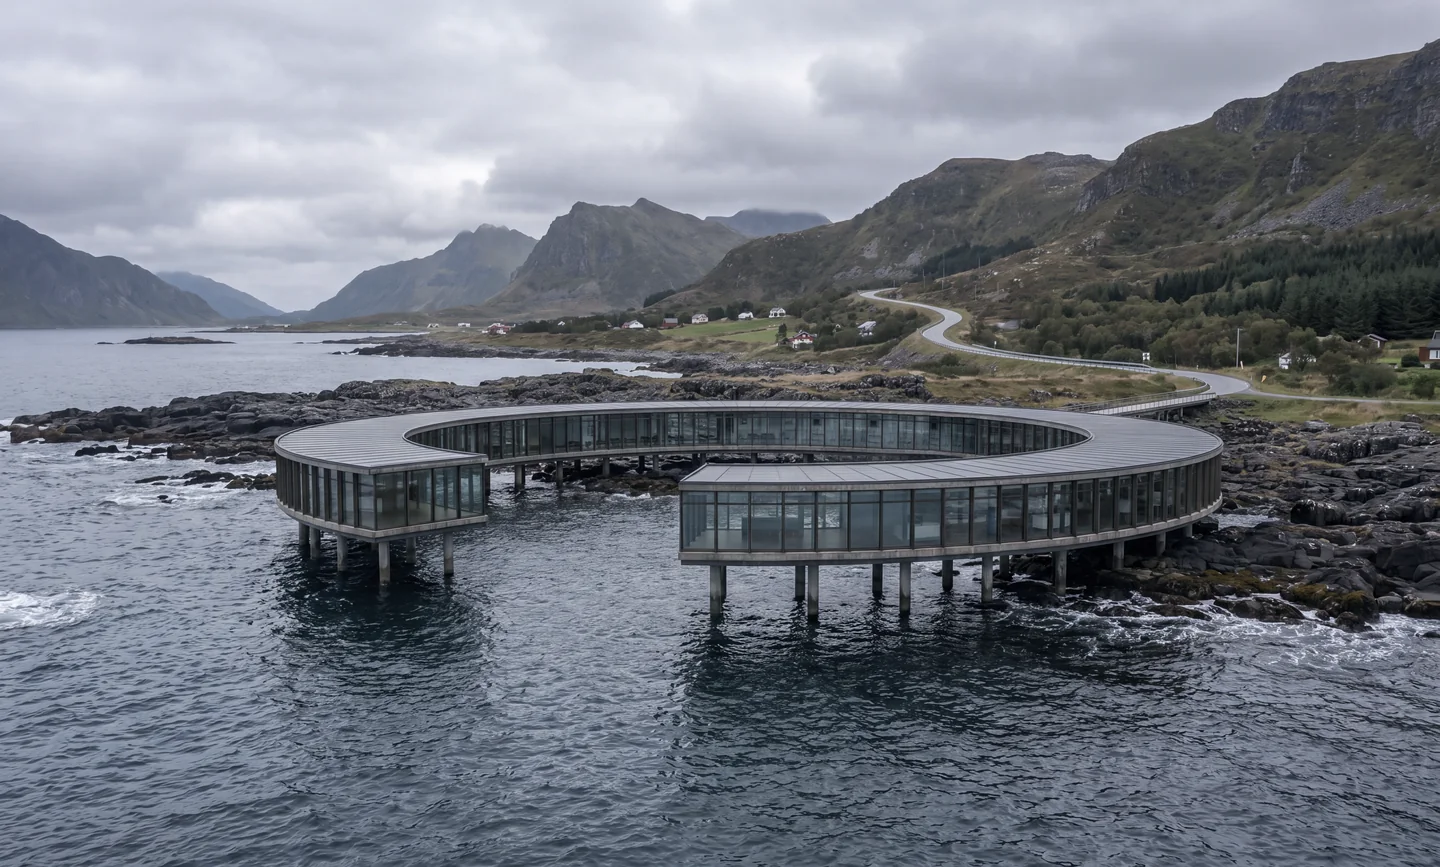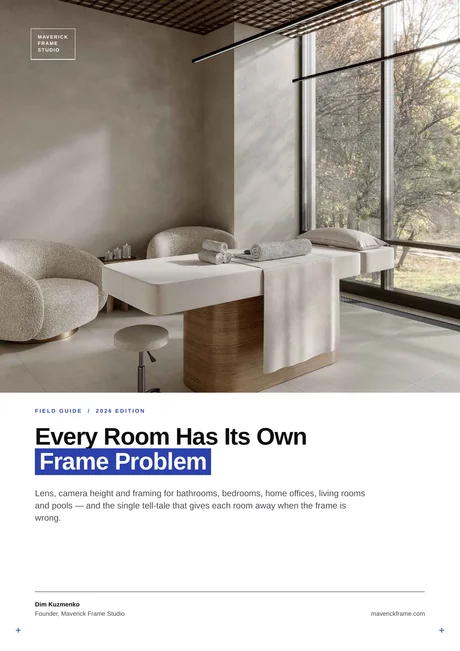
Field of view (FOV) controls how much of a room your camera captures and how natural the space reads. For interior rendering, a moderate FOV — roughly a 24–35 mm full-frame lens, or 55–75° — keeps proportions believable. Go wider and walls bow, furniture stretches, and the room looks like a fisheye real-estate photo instead of a place someone wants to live.
What field of view and focal length mean in interior rendering
Field of view is the angle your virtual camera sees, measured in degrees. Focal length is the same setting expressed in millimetres: a shorter focal length gives a wider field of view, a longer one narrows it. In a render engine you can dial either, but the two move together — set a 24 mm lens and you get a wide ~74° view; set 50 mm and the view tightens to about 40°.
For interiors the tension is simple. Rooms are small and you want to show as much as possible, which pushes you toward a wide FOV. But the wider you go, the more the lens distorts straight walls and stretches whatever sits near the frame edge. The craft is choosing the widest field of view that still looks like architecture, not a security-camera still.
The best focal length range for interior renders
For most interior renders, a 24–35 mm full-frame-equivalent lens (about 55–75° field of view) is the working range. Smaller rooms sit at the wide end, larger and open-plan spaces at the tighter end, and detail shots use a longer lens. The table below is the range our studio starts from before adjusting per scene (values are full-frame, 36 mm-sensor equivalents).
| Room / shot type | Focal length | Approx. FOV | Camera height |
| Small room (bathroom, bedroom) | 24–28 mm | 65–75° | 1.2–1.4 m |
| Living room / open-plan | 28–35 mm | 55–65° | 1.3–1.5 m |
| Kitchen | 28–35 mm | 55–65° | 1.3–1.5 m |
| Detail / vignette (decor, joinery) | 50–85 mm | 25–40° | at subject level |
Treat these as starting points, not rules. A narrow galley kitchen may need the wide end of its range; a generous loft can go tighter for a more photographic look. What matters is that you pick the lens for the frame you want, rather than defaulting to the widest setting to fit everything in.
Why wide-angle interior renders look distorted — and how to fix it
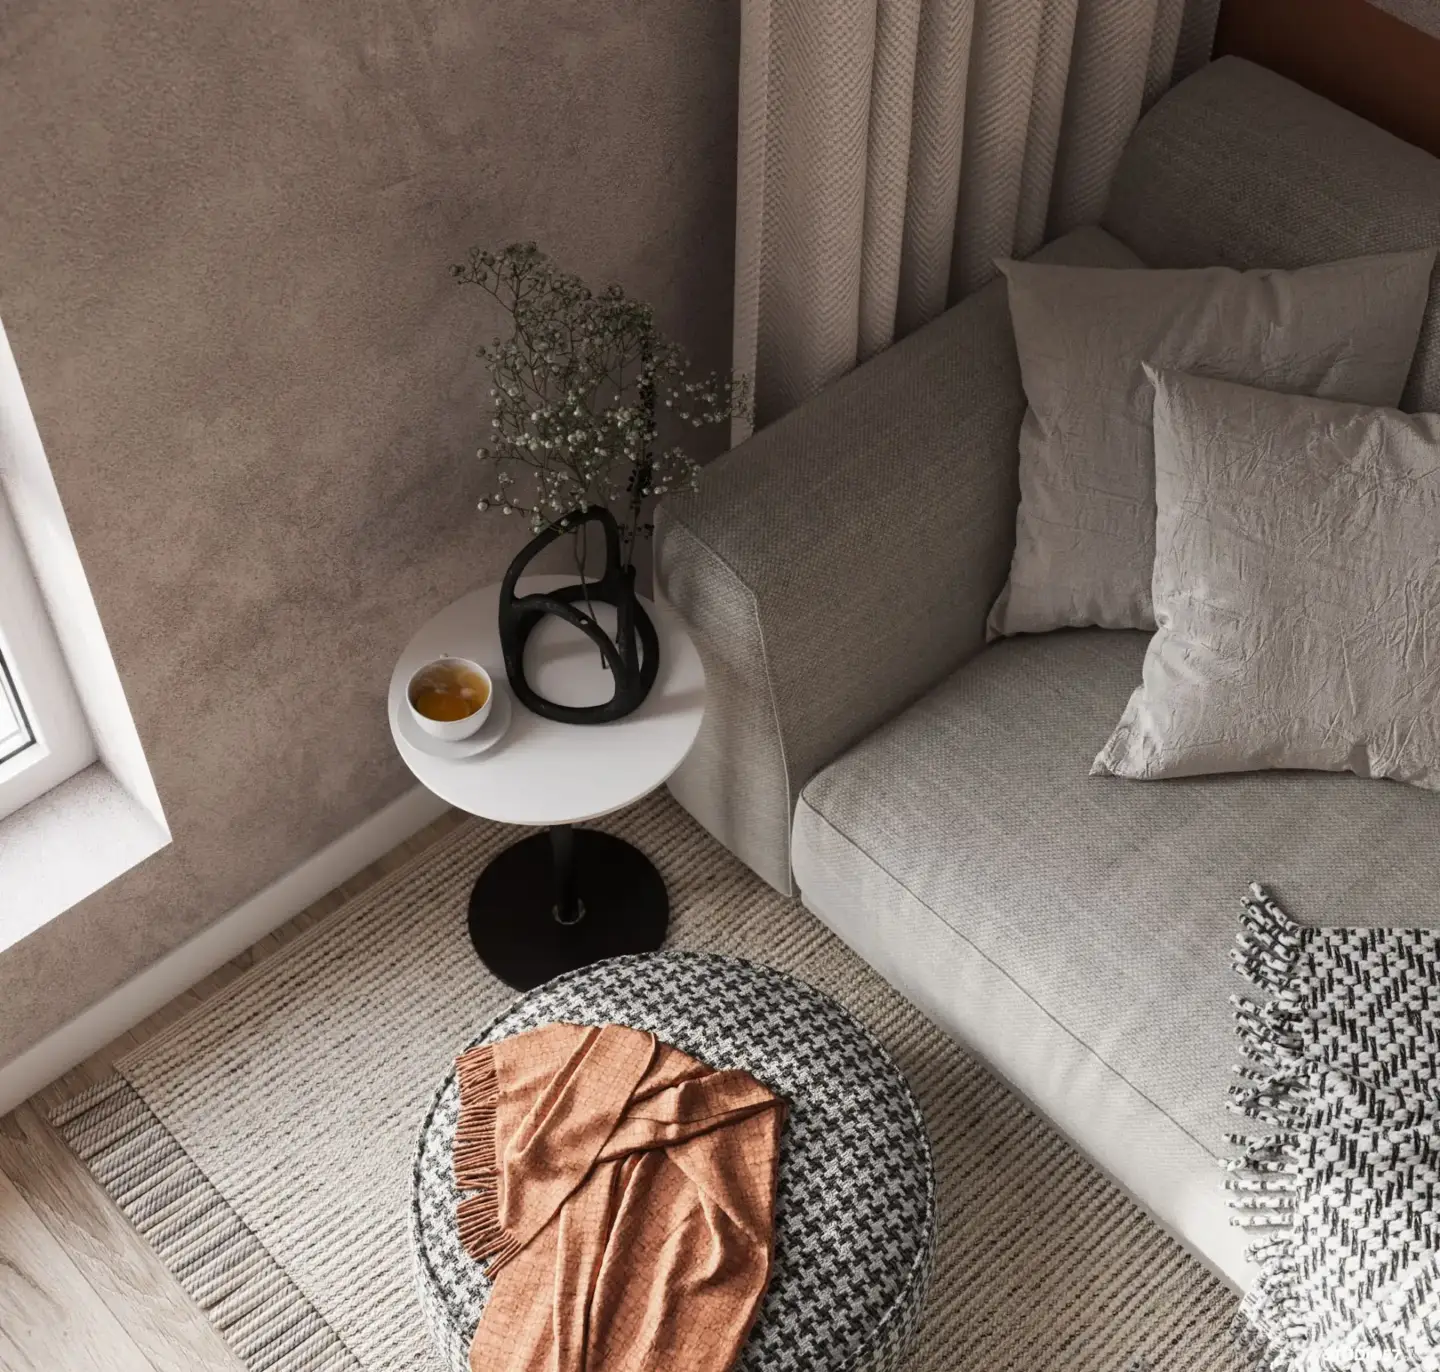
Distortion sets in below roughly 20 mm (over ~90° FOV). Barrel distortion bows straight walls outward, verticals converge or lean, and objects near the edge of the frame stretch unnaturally — a sofa arm balloons, a table leg splays. The eye reads it instantly as "wrong," even when the viewer can't name why.
Three habits keep interiors clean: stay inside the 24–35 mm range; keep the camera level so vertical lines stay parallel (a true two-point perspective) instead of tilting up or down; and use the render engine's lens-shift or camera-correction control to reframe height rather than angling the camera. If a shot still won't fit, that is the frame telling you it needs to be two frames.
In our studio, the most common brief mistake is trying to cram a whole large room into one wide frame to save time. It never pays off — you get the fisheye look nobody likes. If a big space needs two frames to be shown properly, we shoot two, plus a couple of detail shots. A visualizer or designer picks the frames the room deserves; forcing everything into one distorted angle to save a few hours of work reads as exactly that.
Camera angles for interior renders: which angle for which room
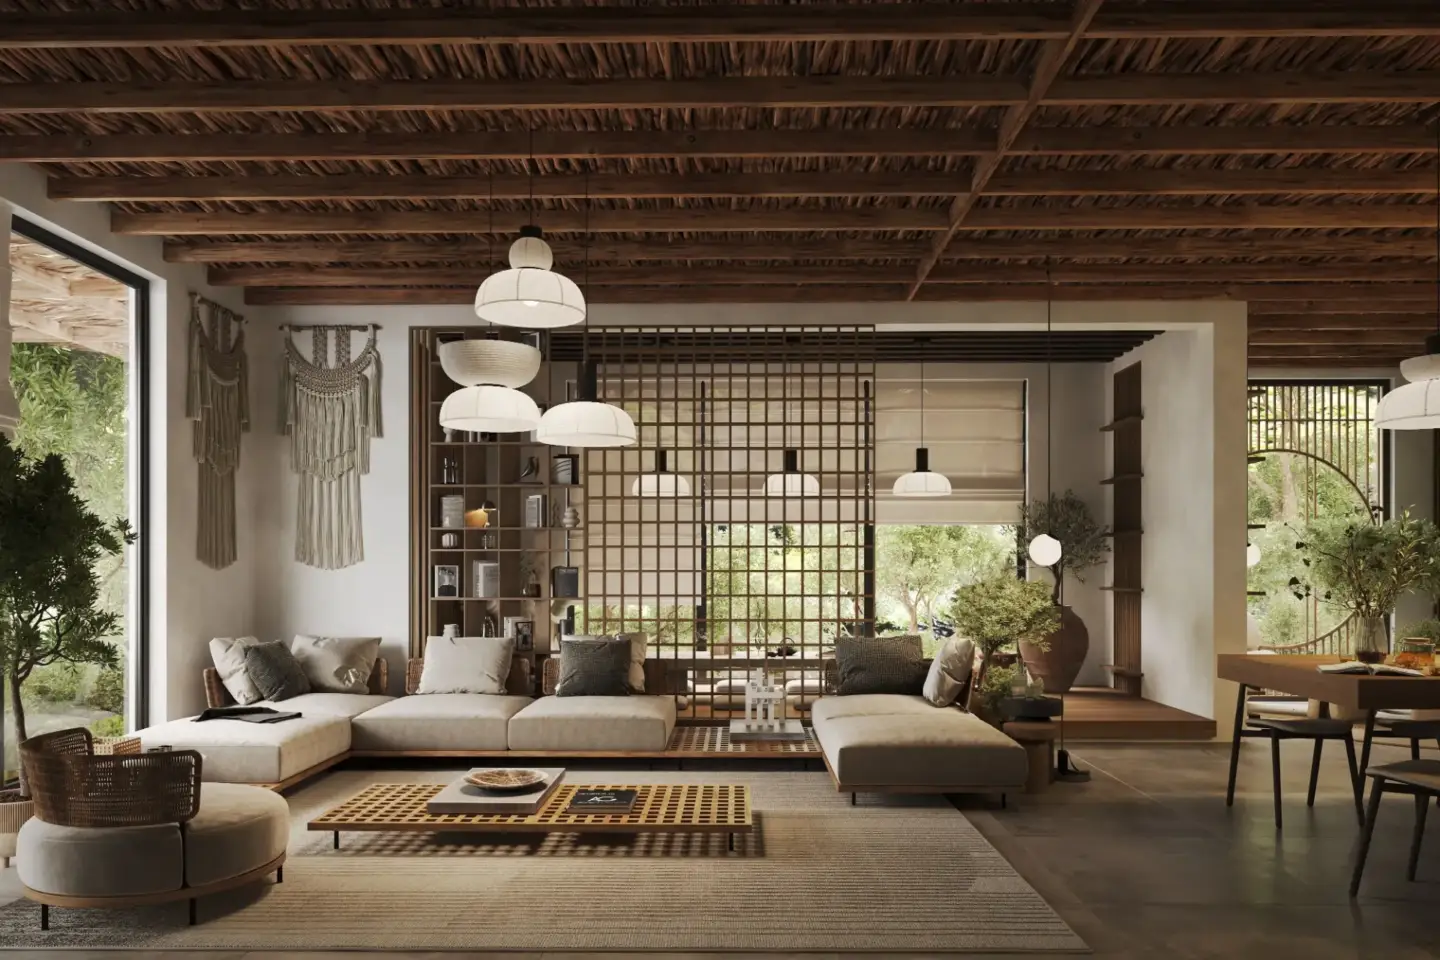
Field of view decides how much you see; the camera angle decides how the room feels. Four angles cover almost every interior render:
- Eye-level, straight into the room — the default. It mirrors how a person stands in the doorway and reads as the most natural and honest view of the space.
- Corner (two-wall) angle — the camera sits in one corner and captures two walls at once. It shows depth and layout in a single frame and is the strongest choice for small rooms.
- Straight-on / symmetrical — square to a feature wall (a fireplace, headboard, or kitchen run). Best when symmetry is the selling point.
- Detail / close-up — a longer lens on materials, joinery, or a styled vignette. It proves finish quality that a wide establishing shot flattens.
These are the interior workhorses; for the full naming system across exterior, product, and aerial work — worm's-eye, bird's-eye, three-quarter, and the rest — see our guide to the types of camera angles in 3D visualization.
Camera height and composition rules for interior renders
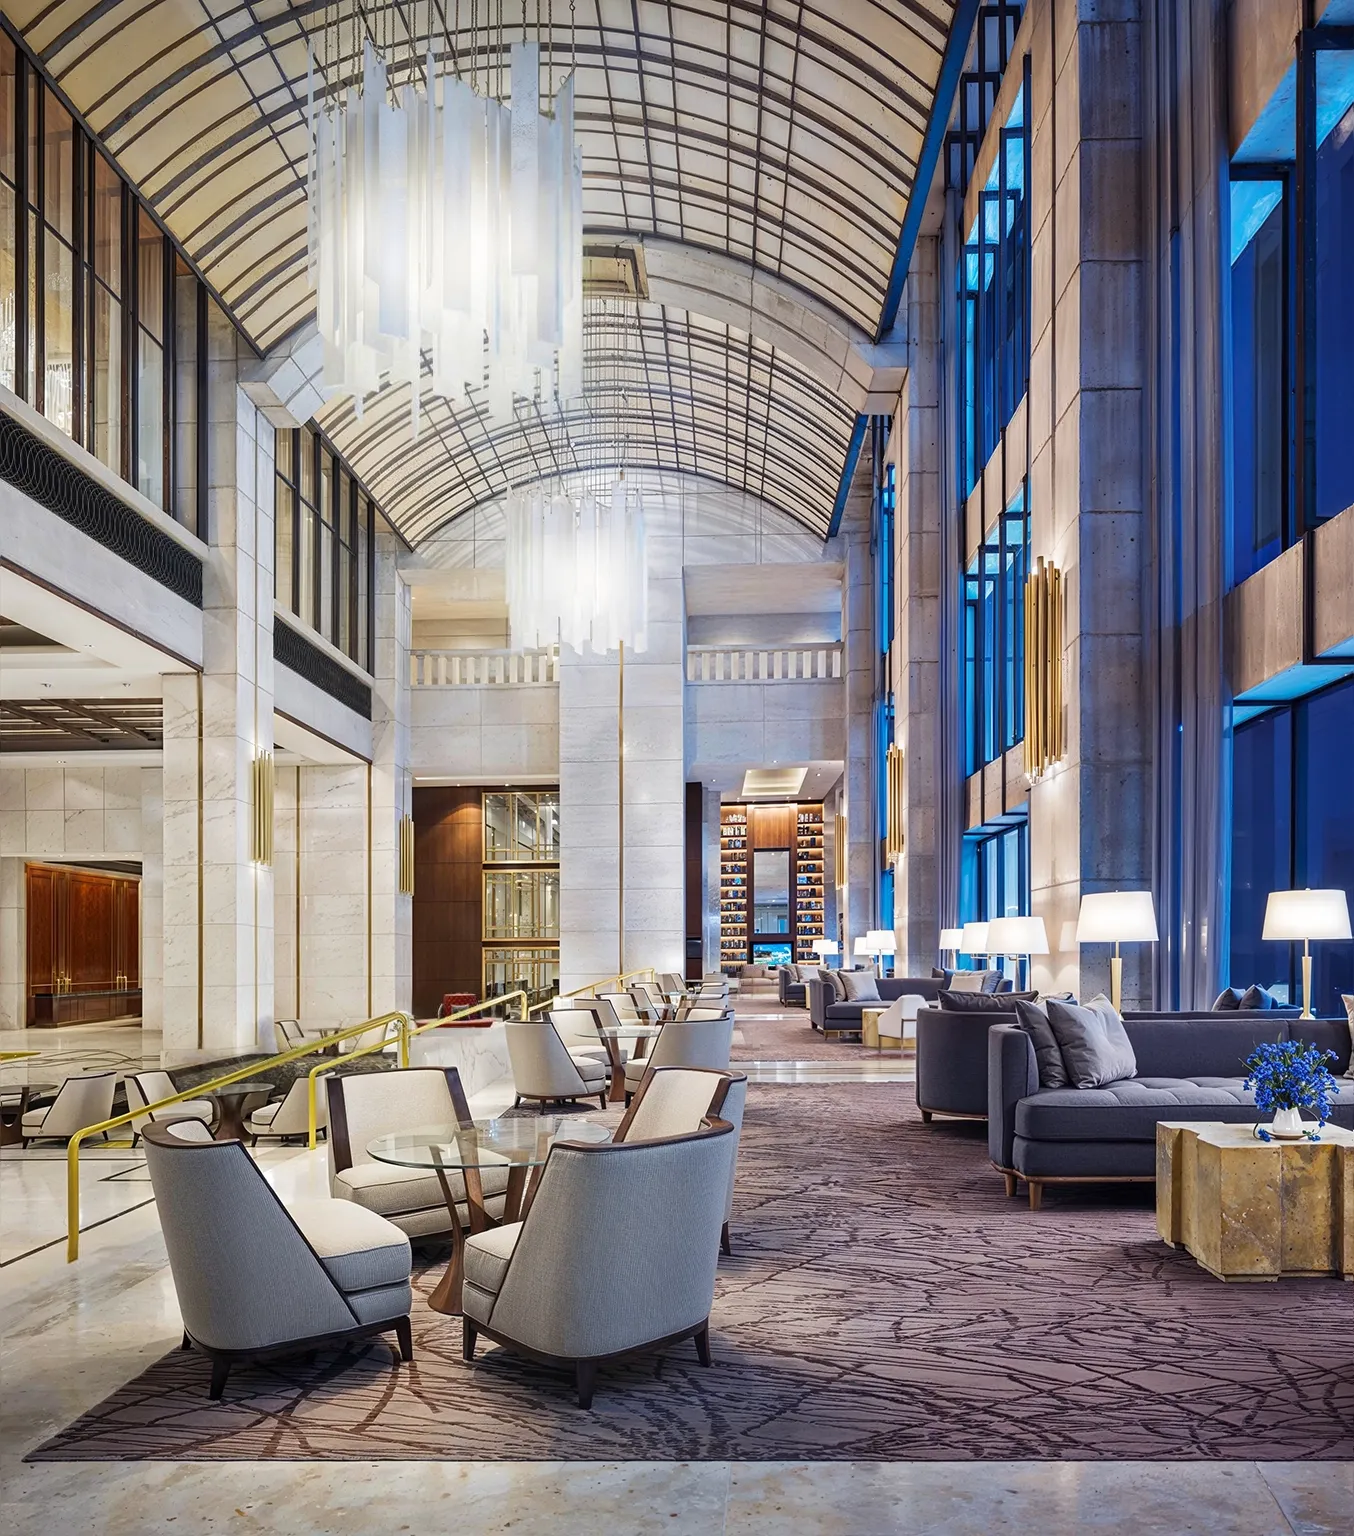
Set the camera at standing eye level — about 1.2–1.5 m — for most rooms, and drop it to roughly 1.1 m for lounges and bedrooms where the experience is seated. That height keeps furniture in believable proportion and puts the horizon where a visitor would expect it.
From there, a few composition rules do the rest:
- Keep verticals vertical. Level the camera so walls and door frames stay parallel — the single biggest tell of a professional interior render.
- Use the rule of thirds. Place the main feature off-centre and let a piece of furniture anchor the foreground for depth.
- Find a leading line. A rug edge, counter, or run of flooring that draws the eye into the room adds a sense of space.
- Leave breathing room. Don't clip furniture awkwardly at the frame edge; reframe or step the camera back instead of widening the lens.
Get FOV, height, and composition working together and a still starts to feel like a photograph of a real place. It is the same discipline behind every image in our 3D interior rendering services — the camera is chosen for the room, not the other way around.