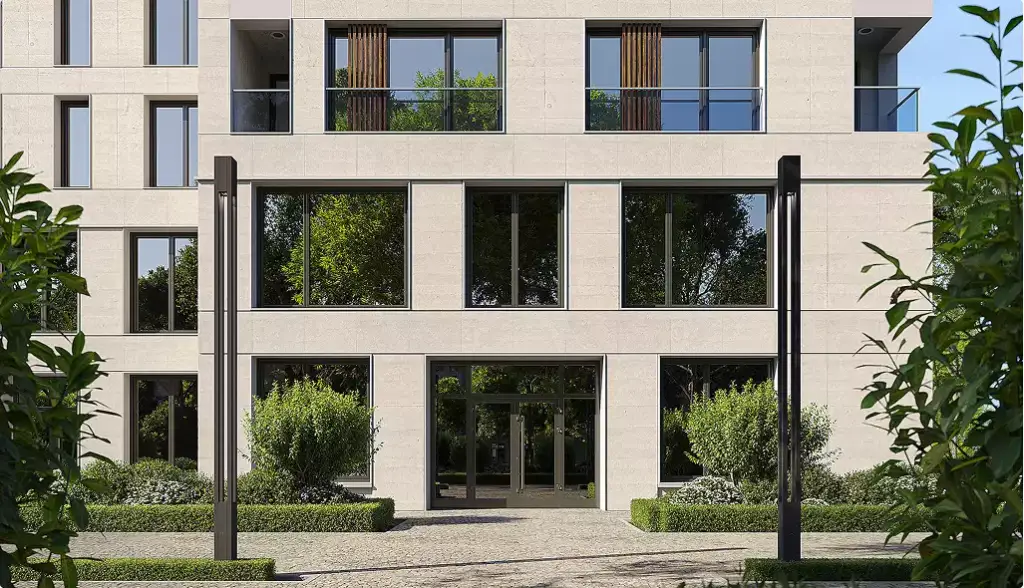
The architectural rendering process is the structured professional workflow that turns technical design information into persuasive visual communication. It combines rendering, 3D modeling, materials, lighting, camera judgment, and post-production to support approvals, marketing, and construction decisions. For architects, visualizers, and developers, process control determines whether an image feels credible, useful, and commercially effective. This workflow underpins all architectural rendering.
Architectural Rendering Process Flow at a GlanceArchitectural Rendering Process Flow at a Glance
The architectural rendering process flow runs through seven stages, from the initial brief to final delivery. It is the building-focused application of the wider 3D rendering process:
- Brief and project requirements
- 3D modeling from CAD and blueprints
- Materials, textures, and surfacing
- Lighting setup
- Camera placement and composition
- Rendering settings and output
- Post-production and final delivery
What the Architectural Rendering Process Includes
The architectural rendering process is broader than simply pressing the render button in software. It begins with architectural drawings, BIM data, CAD references, design goals, and commercial expectations before moving into production. This distinction matters because strong results depend on the full workflow, not only the final compute action. One specialised output of this workflow is architectural photomontage.
How Architectural Rendering Works: Core Concepts Explained
In professional use, how architectural rendering works means generating 2D images or animations from a digital 3D scene. The complete workflow includes modeling, material creation, lighting design, camera composition, render calculation, and finishing work. Graphics pipelines and physically based rendering form the technical foundation for consistent visual output.
Types of Architectural Renders and When to Use Each
The main types of architectural rendering include exterior views, interior scenes, aerial perspectives, 3D floor plans, architectural walkthroughs, and real-time experiences. Each format serves a different decision context, from planning review to investor presentation. Real-time computer graphics and virtual reality differ from static still renders because they allow interactive review.
| Render Type | Description | Best Use Context |
| Exterior render | Shows facade, site, landscape, and context | Planning, marketing, investor review |
| Interior render | Shows finishes, furniture, lighting, and atmosphere | Client approval, sales, design validation |
| Aerial render | Shows site planning and surrounding context | Masterplans, developments, public review |
| 3D floor plan | Shows layout through a spatial top-down view | Real estate listings, buyer education |
| Architectural walkthrough | Shows movement through a designed space | Presentations, sales, experiential review |
| Real-time or VR render | Allows interactive exploration | Stakeholder workshops, design review |
Why Architectural Rendering Matters Before Construction
The reason why architectural rendering matters is commercial as much as visual. Before construction begins, rendering helps teams catch design issues when changes are still lower-cost, align non-technical stakeholders, reduce interpretation errors, and prepare marketing material. BIM makes complex project information available, while visual output makes it understandable.
Five decisions rendering helps get right before construction begins:
- Material selection and facade character
- Interior layout, furniture, and circulation logic
- Daylight, artificial lighting, and mood
- Planning submission clarity and community response
- Pre-sales imagery, investor decks, and launch campaigns
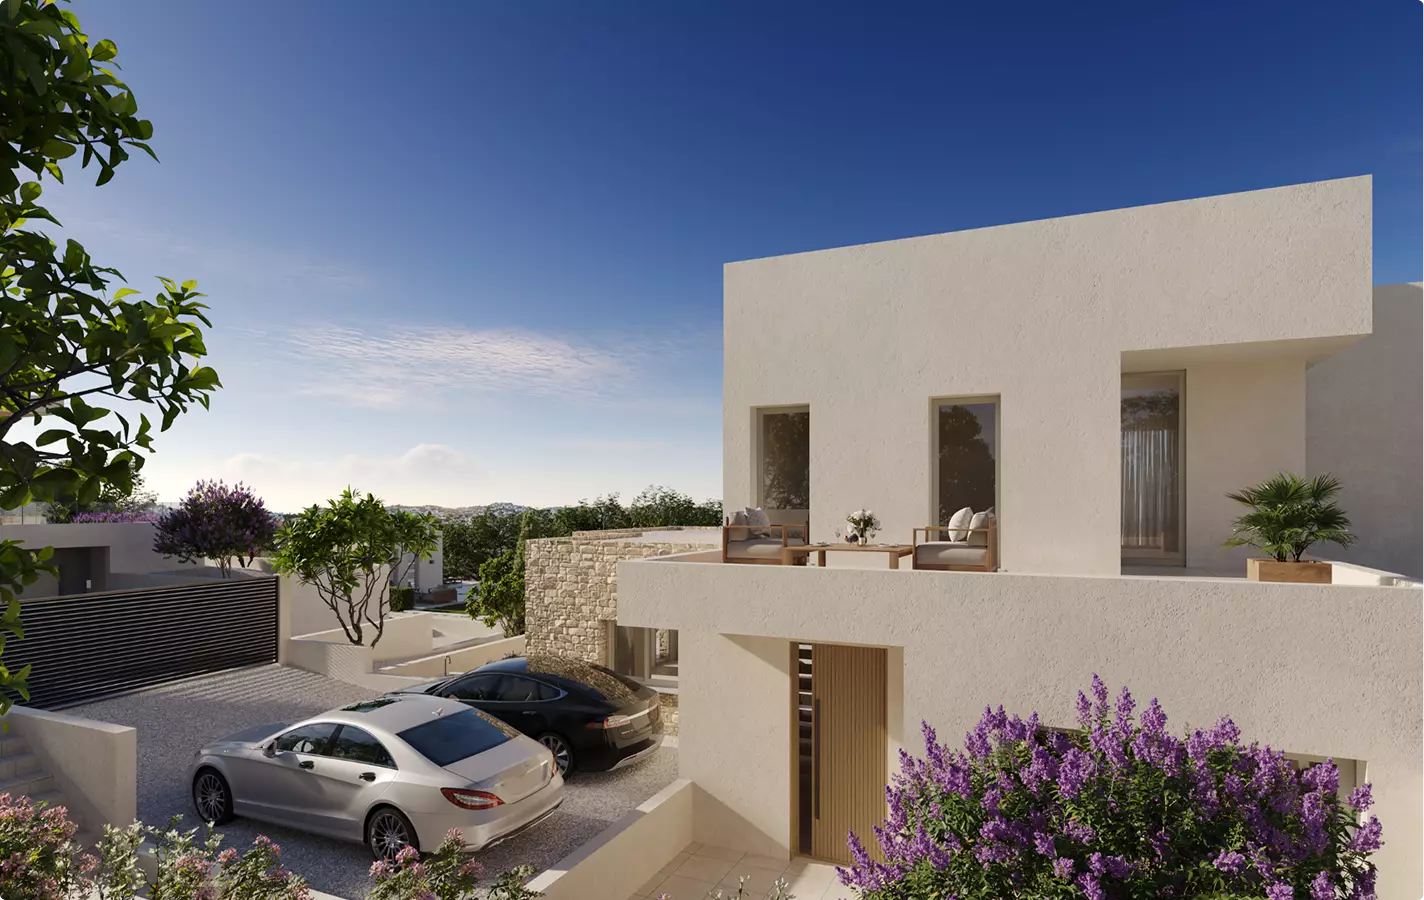
The Benefits of Architectural Rendering
The benefits of architectural rendering come from two linked capabilities: realism and speed of understanding. Photorealism creates visual trust, while real-time computer graphics can compress feedback cycles during design review. The result is better communication, fewer late misunderstandings, and stronger commercial use of visual assets.
How Rendering Improves Client Communication and Project Efficiency
Architectural rendering client communication improves because realistic images translate technical intent into a visual language clients can evaluate. In a typical project scenario, a rendered interior may reveal that a specified stone finish feels too dark in context, while drawings alone might not expose the issue. This helps teams identify misunderstandings before construction documentation or procurement decisions make corrections more expensive.
Rendering for project efficiency becomes especially valuable when real-time computer graphics allow faster material, lighting, and camera adjustments. The design team can review alternatives before committing to full production output. Faster and more accurate feedback means fewer avoidable revisions and a smoother client approval process.
Commercial and Marketing Value of High-Quality Architectural Renders
Architectural rendering for marketing supports business decisions that happen before a project is built. Developers use pre-sales visualization, investor imagery, planning packages, brochures, and digital campaign assets to make an unbuilt project credible. Maverick Frame’s 3D exterior rendering services show how exterior visuals can support approvals, investor presentations, sales campaigns, and marketing before construction begins.
Landscape design also matters because exterior credibility depends on more than the building envelope. Planting, hardscape, street context, and atmosphere can make visuals more useful for community approval and public-facing presentations. In commercial settings, photorealism is not merely decorative; it is the quality threshold that helps stakeholders trust the proposal.

Where Architectural Rendering Is Used Across Industries
Architectural rendering applications extend across architecture, interior design, real estate, and urban planning. Each field uses visual output differently, but the shared goal is better design communication. The same workflow can support approvals, sales, investor communication, and public understanding.
Architecture Firms, Real Estate, Interior Design, and Urban Planning
Rendering for architecture firms helps communicate design intent, support competition entries, and turn BIM data into presentation visuals. Real estate developers use renderings to build buyer interest and investor confidence before physical progress is visible. Interior designers use visualization to help clients judge finishes, scale, furniture, and atmosphere before procurement.
Urban planning adds scale, landscape design, transportation context, and community impact. Urban planning renders help public bodies evaluate massing, street presence, and visual change in context. The complexity rises because outdoor context, circulation, and community impact must remain legible at a larger scale.
Stage 1: Collecting the Brief and Project RequirementsStage 1: Collecting the Brief and Project Requirements
The first stage begins before any software is opened. A strong architectural rendering brief includes architectural drawings, BIM files, CAD references, material information, visual references, timeline expectations, and feedback rules. The quality of these inputs determines how efficiently every later stage can be completed.
From our studio — the worst briefs we get are the ones built with AI. The client doesn’t know the craft, so the AI just assembles something that’s expensive to build, slow to produce, and usually wrong for the project.
Dim Kuzmenko, Maverick Frame Studio
What Information Is Required Before Starting a Rendering Project
A professional project requirements for rendering checklist should include floor plans, elevations, sections, Revit or AutoCAD files, material specifications, lighting intent, camera preferences, intended use, deadline, budget, reference images, units, site orientation, and revision terms. Each item informs a downstream production decision, from model accuracy to post-production delivery. Missing information does not disappear because it simply moves uncertainty into a later and more expensive stage.
A floor plan is usually the most fundamental drawing because it controls room relationships, circulation, and scale. Autodesk Revit supports BIM inputs, while AutoCAD often supplies precise 2D architectural drawing references. When these sources are organized, the rendering team can work from production instructions rather than assumptions.
Common Brief Mistakes That Derail the Rendering Workflow
Common rendering brief mistakes follow a clear error and consequence pattern. Vague material specifications cause inaccurate surfacing, missing reference images create style drift, undefined camera angles produce avoidable composition changes, and missing unit confirmation can damage the entire model. These problems are common industry pitfalls, not signs of incompetence, but they need structured prevention.
Request at least 5 reference images that show intended lighting, mood, material realism, and composition. Visual feedback at the start protects the client and the artist from mismatched expectations. Strong client communication turns the brief into a shared reference rather than a loose request.
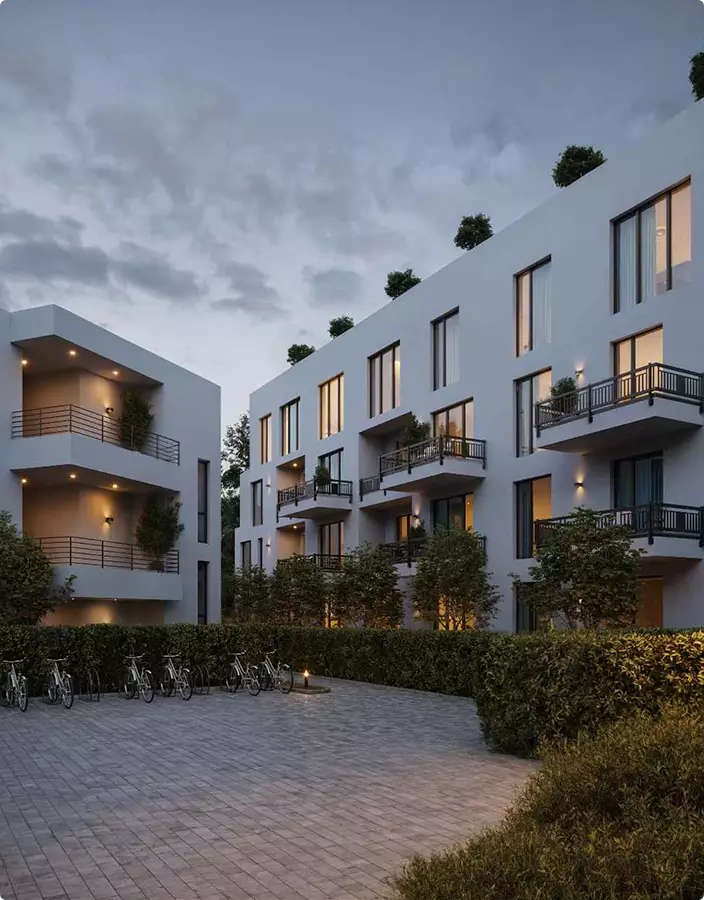
Stage 2: 3D Modeling: Building the Digital Architecture
3D modeling for architectural rendering is the structural foundation of every visualization deliverable. Errors introduced here propagate into materials, lighting, render settings, and post-production. BIM and CAD inputs must become a clean digital architecture before high-quality rendering can begin.
From our studio — modeling eats about 30% of the whole job. People constantly underestimate it — they think the magic is the render button, but most of the work is building clean geometry first.
Dim Kuzmenko, Maverick Frame Studio
Translating CAD Files and Blueprints Into a 3D Model
The architectural 3D model workflow usually begins by importing or referencing CAD drawings and BIM data from AutoCAD or Autodesk Revit. The model may then be built or refined in SketchUp, Autodesk 3ds Max, Rhino, Blender, or another 3D environment. For practices that need production-ready geometry, Maverick Frame’s architectural 3D modeling services position precise modeling as the base for renders, configurators, animations, and marketing assets.
Unit accuracy is non-negotiable because a scale mismatch affects furniture, doors, lighting, entourage, and camera height. If a floor plan conflicts with a section, the professional workflow is to flag the discrepancy, confirm the controlling drawing, and document the decision before modeling continues. This is how controlled production prevents small technical errors from becoming major rendering problems.
Modeling Best Practices for Clean Architectural Geometry
A clean 3D model for rendering protects the graphics pipeline from avoidable failures. Modeling standards include optimized polygon counts, clear object naming, organized layers, corrected normals, clean edge loops, and UV mapping preparation. These standards also support texture mapping because poor UVs can make even high-quality materials look unprofessional.
5 modeling standards that protect render quality:
- Confirm units before importing CAD or BIM data
- Optimize polygon density on visible and repeated objects
- Remove inverted normals and hidden geometry
- Avoid N-gons on visible surfaces where shading artifacts matter
- Run a clay render before full texturing
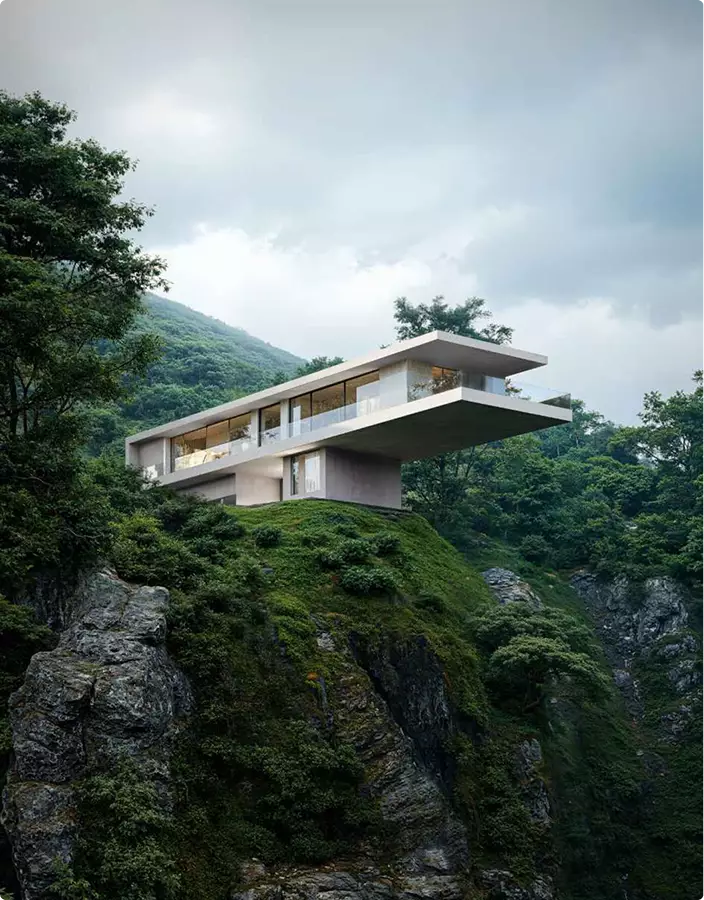
Stage 3: Materials, Textures, and Surfacing
Materials are where a technically correct model begins to acquire visual credibility. Architectural rendering textures influence whether a surface feels believable under light, at scale, and in context. Texture mapping, physically based rendering, shading, and image editing all shape the viewer’s trust in the scene.
How to Source and Apply Realistic Textures for Architectural Rendering
Realistic materials in rendering usually depend on physically based rendering because it keeps material behavior consistent under changing light. Artists often source maps from Quixel Megascans, Poliigon textures, Arroway, scanned libraries, or custom photography. Reflectivity, roughness, bump, displacement, and IOR values need calibration so shading responds credibly.
Weathered concrete illustrates the balance required for professional material work. Too clean looks synthetic, while too much grime makes the design appear poorly maintained. The professional solution is controlled variation through albedo, bump, and roughness maps, with subtle edge wear that supports realism without distracting from design intent.
Common Texturing Errors and How to Avoid Them
Texture mapping errors include visible tiling, incorrect scale, over-reflective glass, missing bump detail, and surfaces that look unrealistically perfect. The cause is usually weak UV preparation, generic maps, or material settings copied without project-specific calibration. The correction is to audit scale, break repetition, adjust roughness, and use noise variation inside physically based rendering channels.
A senior review often starts with walls, floors, glazing, and metal because large surfaces reveal material problems quickly. Repetition becomes visible at architectural scale when map offsets and UVs are not handled properly. Fixing these issues requires procedural variation, localized detail, and a material setup that responds naturally to lighting.
Atmosphere, Imperfections, and the Details That Create Photorealistic Rendering
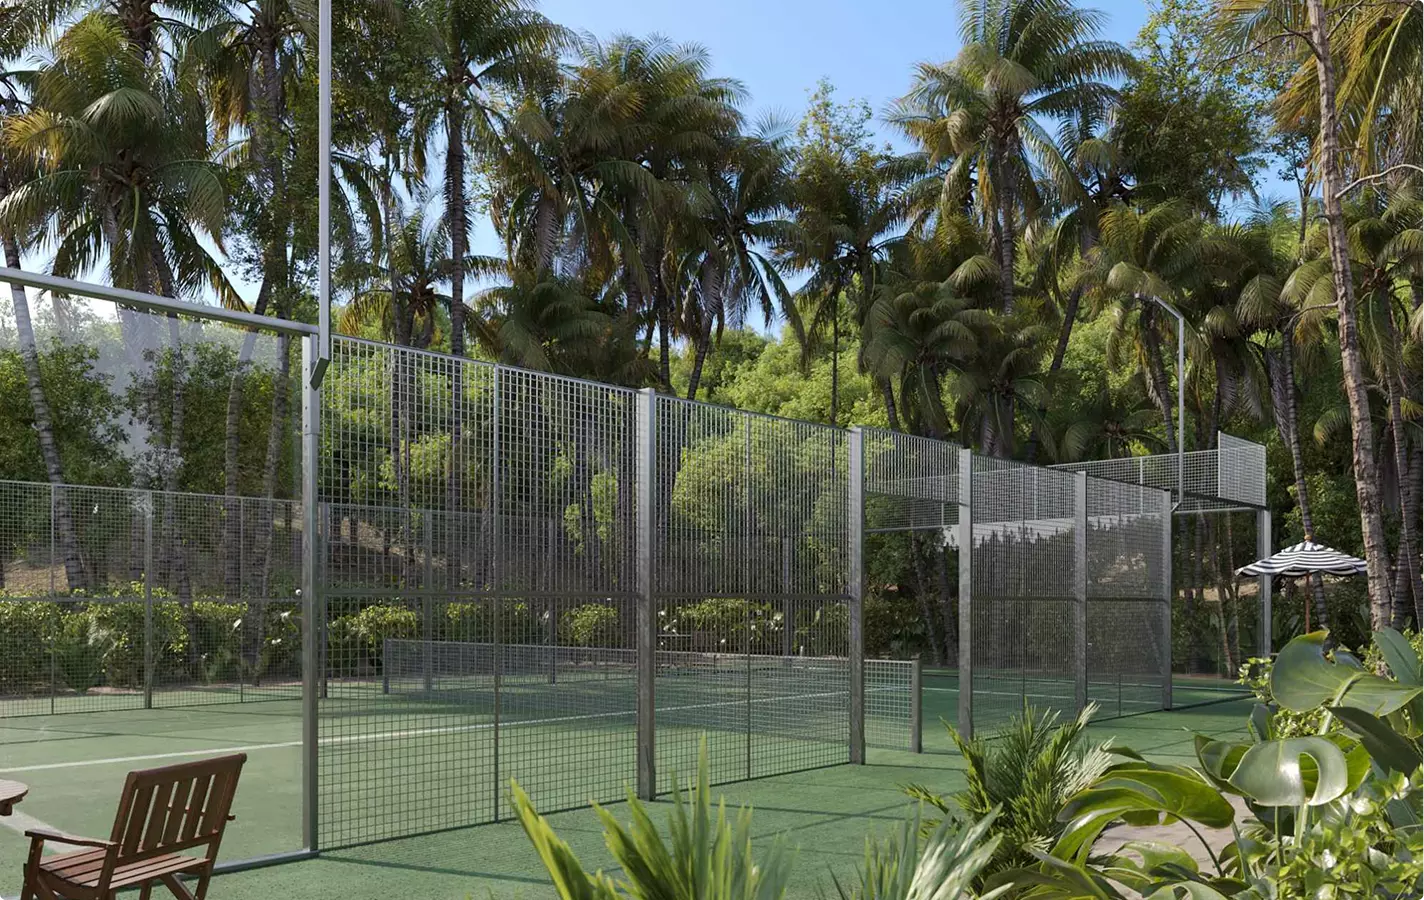
Photorealistic rendering depends on details that keep a scene from feeling mathematically perfect. Edge rounding, randomized placement, grime maps, roughness variation, and atmospheric effects all help convert technical accuracy into believable imagery. Even a small bevel on a concrete edge can improve shading because real-world edges rarely catch light as perfectly sharp lines.
Volumetric light, fog, bloom, and ambient occlusion add depth when used carefully. Ambient occlusion is especially useful for contact areas where walls meet floors or furniture meets surfaces. These realism techniques give the scene weight, contact, and environmental presence.
Stage 4: Lighting Setup: The Stage That Determines Render Quality
Architectural rendering lighting is the highest-impact technical stage in architectural visualization. Global illumination, ambient occlusion, and shading determine whether the viewer reads form, depth, material, and atmosphere correctly. Weak lighting can make expensive modeling and detailed materials feel flat.
From our studio — we always start with natural light, the same daylight setup in Corona. For 90% of projects, especially interiors, that’s enough. Artificial lighting is a different story — there it’s not technical but creative, and you just experiment a lot until it looks great.
Dim Kuzmenko, Maverick Frame Studio
Natural vs. Artificial Lighting in Architectural Renders
Natural light in 3D rendering begins with the project’s intended viewing condition. Natural setups use HDRI sky domes, sun position tools, time-of-day simulation, and building orientation based on location. Artificial setups use IES profiles, photometric lights, fixtures, and interior ambient strategies.
Mixed-lighting scenes require careful control because daylight and fixture temperature can compete. In a residential exterior, a late-afternoon sun position may reveal facade depth, while an overcast setup may flatten the same design. Treating ambient lighting as a primary source is a professional error because it eliminates shadow depth and weakens three-dimensional quality.
Lighting Techniques That Elevate Architectural Render Quality
Advanced rendering lighting relies on technical restraint rather than brightness alone. Global illumination settings, path tracing, fill lights, focal lighting, correct shadow casting, and ambient occlusion all serve a clear visual purpose. The goal is to create depth, hierarchy, and material believability without making the scene feel artificial.
7 lighting techniques that elevate render quality:
- Tune GI bounce settings to avoid flat or muddy light
- Use fill light only to preserve readable shadows
- Create foreground, middle-ground, and background depth
- Correct shadow casting so objects do not float
- Direct attention toward the architectural focal point
- Use ambient occlusion for contact depth
- Avoid ambient light as the main source

Stage 5: Camera Placement and Composition
Camera placement is an editorial decision, not a technical afterthought. Camera angles in architectural rendering determine how scale, proportion, and design intent are perceived. Unlike an orthographic architectural drawing, a rendered perspective chooses emphasis, distance, and visual hierarchy.
Choosing the Right Camera Angles to Communicate Architectural Design
Architectural photography composition is a useful reference because every camera decision shapes perception. Eye-level cameras around 1.6 to 1.7 meters are common starting points for natural human perception, while bird’s-eye and worm’s-eye views serve more specific communication goals. A 35–50mm-equivalent focal length often preserves a believable appearance.
Extremely wide-angle lenses can make rooms feel larger, but they may distort spatial accuracy and reduce trust. Interior perspectives should show the design clearly without exaggerating depth or stretching furniture. Strong camera selection balances drama with architectural truth.
Composition Principles for Architectural Rendering
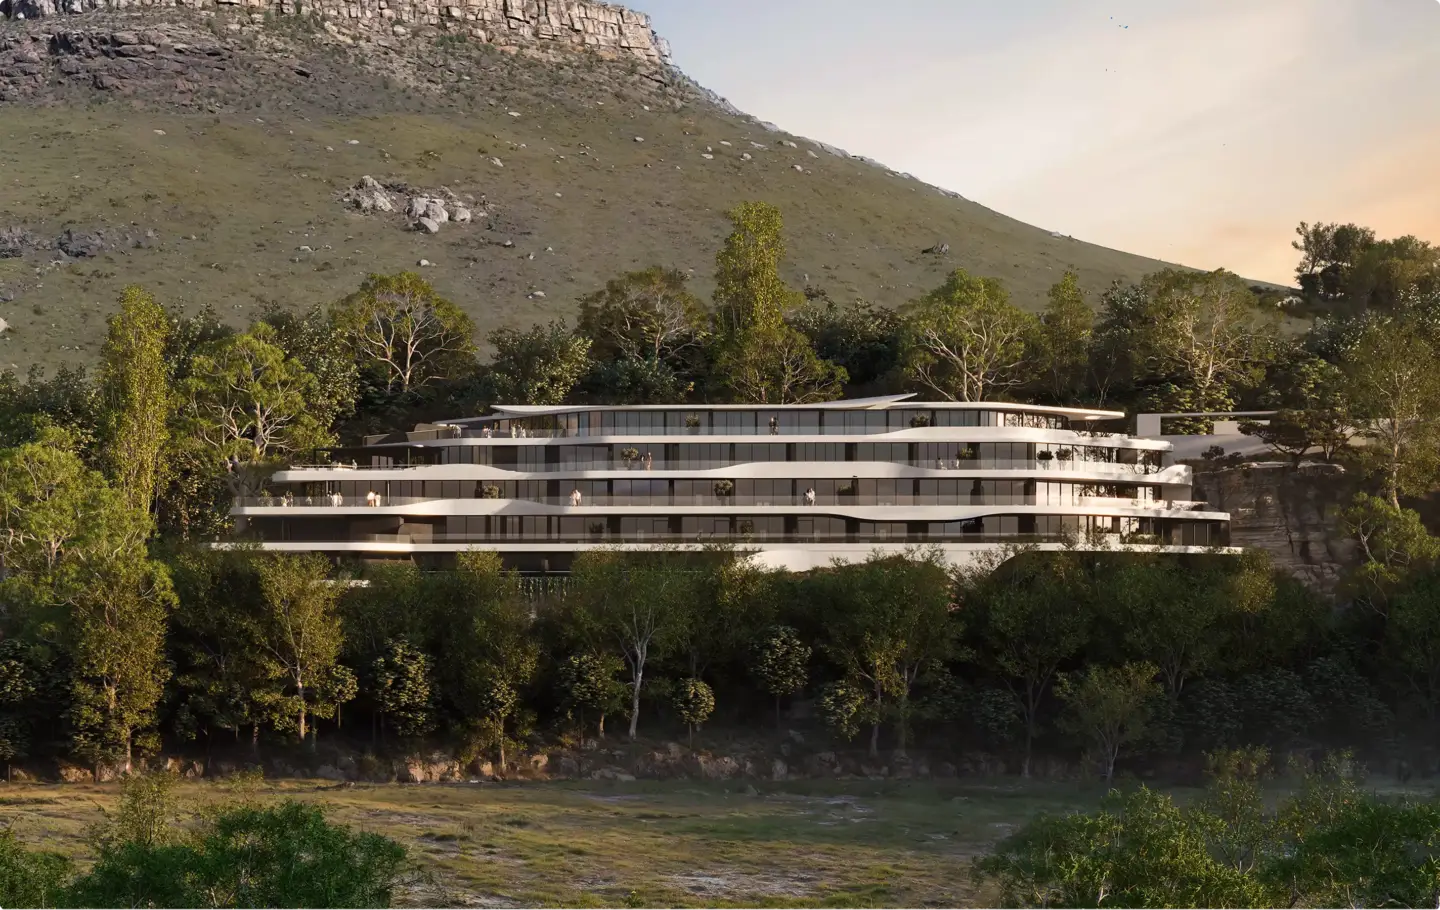
Composition for architectural rendering uses the rule of thirds, leading lines, foreground framing, depth layering, and negative space. Leading lines can direct attention toward the primary facade, while foreground elements can create scale and visual entry. The golden ratio is also used by some practitioners, but the rule of thirds remains easier to apply consistently.
Stage 6: Rendering Settings and Output
Rendering settings translate technical decisions into financial outcomes. The 3D visualization workflow depends on sampling, resolution, denoising, engine choice, GPU resources, and cloud infrastructure. These settings affect turnaround time, hardware cost, revision flexibility, and final image quality.
Choosing Rendering Engines and Output Settings for Archviz
A professional rendering engine comparison separates offline engines from real-time engines. V-Ray, Corona Renderer, and Arnold are common offline options for high-quality stills, while Lumion, Enscape, Twinmotion, and Unreal Engine support faster interactive review. Offline engines are often chosen for controlled still imagery, while real-time engines are often chosen for speed, design review, and immersive presentations.
The choice should follow project type, timeline, quality requirements, and team capability. Unreal Engine architectural visualization is increasingly relevant for interactive experiences, cinematic output, and real-time presentations. In motion-based projects, Maverick Frame’s 3D architectural animation services are useful when the client needs route, sequence, and atmosphere rather than a single still image.
| Engine | Render Quality | Speed | Learning Curve | Best Use Case |
| V-Ray | Very high | Moderate | Steep | Marketing stills and complex scenes |
| Corona Renderer | Very high | Moderate | Moderate | Artist-friendly still imagery |
| Lumion | High | Fast | Low to moderate | Fast architectural presentation |
| Enscape | High | Very fast | Low | Design review and BIM-linked visualization |
| Unreal Engine 5 | High to very high | Fast after setup | Steep | Interactive and cinematic visualization |
Balancing Render Quality vs. Render Time
Render time optimization is governed by sampling, noise thresholds, GI engine selection, resolution, and GPU rendering compared with CPU rendering. AI denoising can reduce visible noise with fewer samples, which helps teams maintain acceptable quality without excessive render times. Cloud computing becomes relevant when local hardware limits delivery speed or scene complexity.
Stage 7: Post-Processing and Final DeliveryStage 7: Post-Processing and Final Delivery
Post-production for renders is the final stage of the architectural rendering workflow, but it is not a cosmetic extra. Professional visualizers often allocate significant project time to image editing, compositing, color grading, and final delivery preparation. This stage refines raw rendered output into client-ready photorealism.
Post-Production Workflow for Architectural Renders
Architectural rendering post-processing often uses Photoshop, Affinity Photo, or comparable image editing tools. Render passes such as beauty, shadow, reflection, and Z-depth preserve lighting and shading information for non-destructive compositing. This makes post-production a technical control stage rather than simple retouching.
Heavy-handed glare, vignette, and lens effects reduce quality when they draw attention to the edit rather than the architecture. Color grading should support material truth, not mask weak lighting. Strong final image work is disciplined, subtle, and aligned with the intended delivery context.
File Formats, Resolution Standards, and Client Delivery
Architectural rendering file formats should match the use case. TIFF suits print and archival masters, PNG works for clean web or presentation assets, and JPEG is useful for lighter sharing when compression is acceptable. Clients should receive both a web-optimized file and a full-resolution master so marketing, approval, and archive needs are covered.
| Format | Best Use Case | Pros | Cons | Recommended Resolution |
| TIFF | Print and master delivery | High quality, flexible | Large file size | 4K or higher |
| PNG | Web and presentation decks | Clean quality, transparency support | Larger than JPEG | 2K to 4K |
| JPEG | Fast sharing and approvals | Small file size | Compression artifacts | 1920px to 4K |
| PSD | Editable source file | Layer control | Not final-client friendly | Project dependent |
Beyond the seven core production stages, a professional rendering workflow also depends on how revisions, software choices, quality control, and emerging technologies are managed. These factors determine whether the process remains predictable, commercially useful, and easy for architects and clients to control.
Managing Client Revisions Within the Rendering Workflow for ArchitectsManaging Client Revisions Within the Rendering Workflow for Architects
Revision management is a workflow discipline with contractual and communication consequences. In the rendering workflow for architects, feedback quality determines whether revisions remain manageable or become uncontrolled rework. Strong revision systems protect design intent, project budget, and client relationships.
From our studio — where projects actually fall apart is revisions. When there are too many, they don’t make the image better — they make it worse.
Dim Kuzmenko, Maverick Frame Studio
Setting Revision Boundaries Without Compromising Client Relationships
Managing client revisions begins with clear scope language. Contracts should define included revision rounds, distinguish revisions from scope changes, and price additional rounds before production starts. For cost planning, Maverick Frame’s 3D rendering pricing guide explains how complexity, realism requirements, turnaround, and revision expectations affect pricing.
Low-cost revisions usually include minor material, color, or object adjustments. High-cost revisions include geometry changes, time-of-day shifts, and new camera angles because they send the project backward into modeling, lighting, or composition stages. Undefined scope creates financial risk because a fixed-price project can absorb too many production resets.
Using Structured Feedback Loops to Improve Output Quality
An architectural visualization feedback loop should use clear approval gates. A model draft, low-resolution lighting render, textured draft, and final render create natural checkpoints. Grey-model approval is especially important because it catches geometry errors before materials and lighting make changes expensive.
Client approval stages also improve communication by reducing vague end-stage comments. Each checkpoint asks stakeholders to approve one type of decision rather than react to the entire image at once. This quality control process keeps design, production, and budget aligned.

Choosing the Right Software to Support the Rendering Workflow
Software selection should follow project type, practice scale, and workflow requirements. Architectural visualization software stack planning should account for modeling, rendering, and post-production rather than choosing tools in isolation. The best pipeline is the one that supports the actual business and design decisions the practice needs to make.
From our studio — most archviz today is done in Corona. Unreal and V-Ray stay very niche for archviz.
Dim Kuzmenko, Maverick Frame Studio
Top Rendering Engines Compared: V-Ray, Corona, Lumion, and Unreal Engine
The best rendering software for architects depends on quality expectations, speed, and the team’s technical capacity. V-Ray offers precise control and strong photorealism, Corona Renderer is known for artist-friendly workflows, Lumion supports fast architectural presentations, and Unreal Engine 5 supports high-end interactive or cinematic visualization. D5 Render is also gaining professional attention as a real-time alternative.
A good comparison also acknowledges that software categories overlap. Twinmotion and Enscape are often considered when practices want rapid review rather than maximum still-image control. The core distinction is not popularity, but whether the engine supports the project’s required quality, interactivity, and revision pace.
In-House vs. Outsourced Rendering: Selecting the Right Approach for an Architecture Practice
In-house architectural rendering gives practices more control and can lower per-image cost when visualization demand is consistent. Outsourcing gives access to specialist skill, senior art direction, and hardware capacity when project stakes are high. Maverick Frame’s 3D visualization for real estate developers is relevant for developer teams that need visualization, animation, and marketing assets tied to sales and investment goals.
The decision should be based on project volume, budget, required quality, and staff capacity. Large commercial projects may still justify outsourcing even when a firm handles standard visualization internally. The deciding factor is whether visual credibility directly affects approvals, pre-sales, or investor confidence.
Building a Software Stack That Fits the Practice
The best software pipeline for architectural rendering combines a modeling tool, rendering engine, and post-processing tool. A solo freelancer might use SketchUp, Enscape or Lumion, and Photoshop for fast turnaround. A small studio might use Autodesk 3ds Max, V-Ray or Corona, and Photoshop for stronger control.
A large architecture firm may combine Revit, Enscape, V-Ray, and Photoshop for BIM-linked production and polished stills. Archicad and Vectorworks can also serve as modeling and BIM sources in larger practice contexts. This stack approach works because no single tool owns the full professional workflow.
| Practice Type | Modeling Tool | Rendering Engine | Post-Processing Tool | Key Rationale |
| Solo Freelancer | SketchUp | Enscape or Lumion | Photoshop | Fast and accessible |
| Small Studio | 3ds Max or Rhino | V-Ray or Corona | Photoshop | Flexible and high quality |
| Large Firm | Revit | Enscape plus V-Ray | Photoshop | BIM-integrated and scalable |
What Makes a High-Quality Architectural Render
A high quality architectural rendering is judged by realism, accuracy, communication value, and technical consistency. Quality does not come from one dramatic effect, but from the alignment of lighting, materials, scale, perspective, and environment. A badly scaled door can damage believability more than a minor lighting flaw.
5-point render quality checklist:
- Lighting accuracy using believable global illumination and shadow behavior
- Material and texture accuracy with scale-correct texture mapping
- Scale and proportion correctness across architecture and entourage
- Composition and camera placement that support design communication
- Environmental context that feels credible without overcrowding the scene
Common Mistakes in the Architectural Rendering Process
The most common architectural rendering mistakes are workflow failures rather than isolated technical defects. They include incomplete briefs, messy geometry, texture scale errors, weak lighting, distorted camera views, poor sampling, excessive post-production, and unbalanced scene dressing. Each problem has a professional correction tied to the stage where it begins.
8 mistakes that undermine render quality:
- Inadequate brief inputs: confirm files, references, scope, and revision rules
- Non-clean geometry: audit normals, units, layers, and hidden objects
- Visible tiling: correct UVs, scale, and material variation
- Ambient light as the primary source: rebuild with proper lighting hierarchy
- Extreme wide-angle distortion: return to natural focal lengths
- Incorrect sampling settings: balance noise thresholds and render time
- Heavy-handed post-production: reduce glare, vignette, and artificial color
- Empty or overloaded scenes: use entourage to support scale and story
Architectural Rendering as a Professional Discipline
The architectural rendering process summary is clear: strong visualization is a multi-stage discipline that rewards clarity, craft, and controlled communication. Briefing, modeling, materials, lighting, camera composition, rendering settings, post-production, and revision management each affect the credibility of the final image. AI, real-time tools, and cloud computing are reshaping production, but light, material, composition, and craft remain the foundation of exceptional renders.
The strongest practitioners treat rendering as one phase inside a larger professional system. That system connects design intent to stakeholder understanding, commercial confidence, and fewer avoidable late changes. Readers evaluating future projects can use this workflow as a practical benchmark for mastering architectural visualization.
The output side of that process is explained in Photorealistic rendering.

Turn Ideas Into Visual Stories