Ever wondered what it takes to turn nothing but a vision into a fully realized custom car design? This article breaks down every step of the process — from the initial idea to the final 3D renders — showing how creativity, technology, and design come together to bring a concept car to life.
Custom Car Design – Concept DevelopmentCustom Car Design – Concept Development
We came into contact with Neville Swales, CEO of Building the Legend, on July 10, 2025. Their workshop is based near Coventry, England, where they perform specialized restorations, engine rebuilds and full recreations of legendary automobiles. One of their most famous works is a replica of the Jaguar XJ13 powered by Tera V12 engine, assembled in-house based off of the original one from the 1960s. We were lucky to collaborate with Neville on the initial stages of the car creation process. Blending the vintage aesthetic of the Jaguar E-Type with modern-day functionality, in 3D we designed and modeled the future car.
In the beginning, the client provided us with some AI generated images to explain the vision. The main goal was to give the front of the car that iconic Jaguar E-Type look. Below are some images of the AI-generated references that the client created to show the desired body style at the front and rear.

Essentially, we set out to create a 3D model of a car that has that classic look to it but at the same time has the convenience and features of our modern cars. Things like proximity sensors, an anti-lock braking system, a hydraulic steering system, cameras and other modern-day amenities we are used to. Keep reading to see how we did it, step-by-step.
Modeling a Custom Car: Step 1 – BlockingModeling a Custom Car: Step 1 – Blocking
First and foremost, in Autodesk Maya we set up a mood board with references and started the blocking process. It is a step when we create the general shape of the car, not worrying about the smaller modular pieces, because they will be detailed later on. What’s important during this step is balancing form and topology without focusing too much on the latter. We had to get the ratio right — the hood to the body to the roof of the car. We were blocking according to the dimensions having the length of the vehicle at 4.80 meters, width at 2 meters and the height of the car at 1.2 meters.
Showing the blocked-out model to the client is too early, it is just a 3D draft of the car that needs much more detailing even before we get the very first feedback and guidance on how to move forward.
We had to work out the parts we had the info on. For example, in addition to the general form, we outlined the power bulge on the hood and the general shape of the back. At that point, we had not agreed upon the look of the trunk lid, so the rear shape remained very schematic.
Modeling a Custom Car: Step 2 – TopologyModeling a Custom Car: Step 2 – Topology
And so, we moved on to modeling. This was the longest stage, we had to get all the details of the body right: all the grills, spoilers, lights, window shapes, the rear silhouette, sides and underbody. In addition to the body details, we also modeled the wheels, tires, and windows.
In the first place, we started modeling the shape of the exterior. We were modelling headlights, detailing the shape of the windows, creating the grills on the bonnet of the car and smaller grills on the sides next to the front wheels. We created the “mouth” in the front, detailed the doors, refined A-, B- and C- posts, modeled the sills and the bumpers.
An important concept in 3D modeling is creating a good topology. Topology is a process in 3D modeling where you arrange the vertices, edges and faces in a way that allows for a more defined shape of the surface of the model.
We spent 4 days on the initial blocking and modeling before our first call with the client to present progress. We shared the artist’s screen to spin the model in the software and showcase it from every angle. We discussed the design further in more detail — the rear lights, the tire thickness, the hood, the shape and size of the mouth and other parts. We also agreed on the shape of the trunk with the client deciding on using the rear hatch from the Jaguar F-Type Coupe. Overall, the client was satisfied with the work and after reviewing the model gave us the green light to move forward.
We continued detailing the shape of the car, and on the third day we sent the updates to the WhatsApp work chat with the client. It turned out we had gone in the wrong direction, moving further away from the vision the client had in mind. The car appeared “slab-sided” and needed more curves in its main shape. Some of the details that required changes were: a larger radius in the “mouth”,a different shape for the bottom air intakes for rear brakes, a wider power bulge down the middle of the hood. Overall, we had strayed from the starting point and needed to get back to the more “feminine” look of the car, make it more “dainty” and “sensual”. Along with this guidance, the client provided us with even more references to clarify his vision, which was a substantial aid in the process.

The next day we were ready with the update and shared screenshots of the process with the client. And the positive reply followed — we were “getting it”! The client gave us some small comments on the shape of the spoiler and the bottom air intakes. He loved the rear view and wanted to see our artist’s suggestions for the front view.

It took us one working day to apply the feedback and we were back the next day with the new spoiler, new air intakes and the suggestion from the artist — front air spoiler at the bottom.

The client loved the work and suggested further modifications regarding the bottom air intake shape. We also discussed the headlights and settled on a single-bulb type, as well as agreed on adding black mesh to the “mouth” of the car and to the air intakes on the sides.
The next day we had a video call and discussed some more details such as refining the shape of the rear lights, adding proximity sensors to the bumpers and modifying the shape of the camera on the roof of the car. During this meeting, we also agreed on the final colors for the car — black, Ferrari red, and California sage green. The client wanted to see the model in various colors and pick whichever looked best. We also agreed on the background for the final renders, choosing a minimalist studio backdrop in a dark palette.
Two days later we submitted more images of the 3D model for feedback and then refined chrome edges around the headlights and windows making them thinner.
Modeling a Custom Car: Steps 3,4,5 – Texturing, Shading, ColoringModeling a Custom Car: Steps 3,4,5 – Texturing, Shading, Coloring
After we had approved the model we made sure our 3D mesh was clean and we had proper UVs. Now we could move on to texturing. For this purpose we used the Automotive Materials Pack from Unreal Engine and applied textures to the model. Afterward, we moved on to shading and coloring the model.
At the end of the same day we presented the client an example of a model textured and colored. It was a shiny chocolate brown — just to give Neville an idea of how it was going to look. His reaction was “OMG” — short and clear. The car looked amazing. Even at this point we had to make some changes to the 3D model. We decided to get rid of the camera on top and reduce the “mouth”, making it a bit narrower.

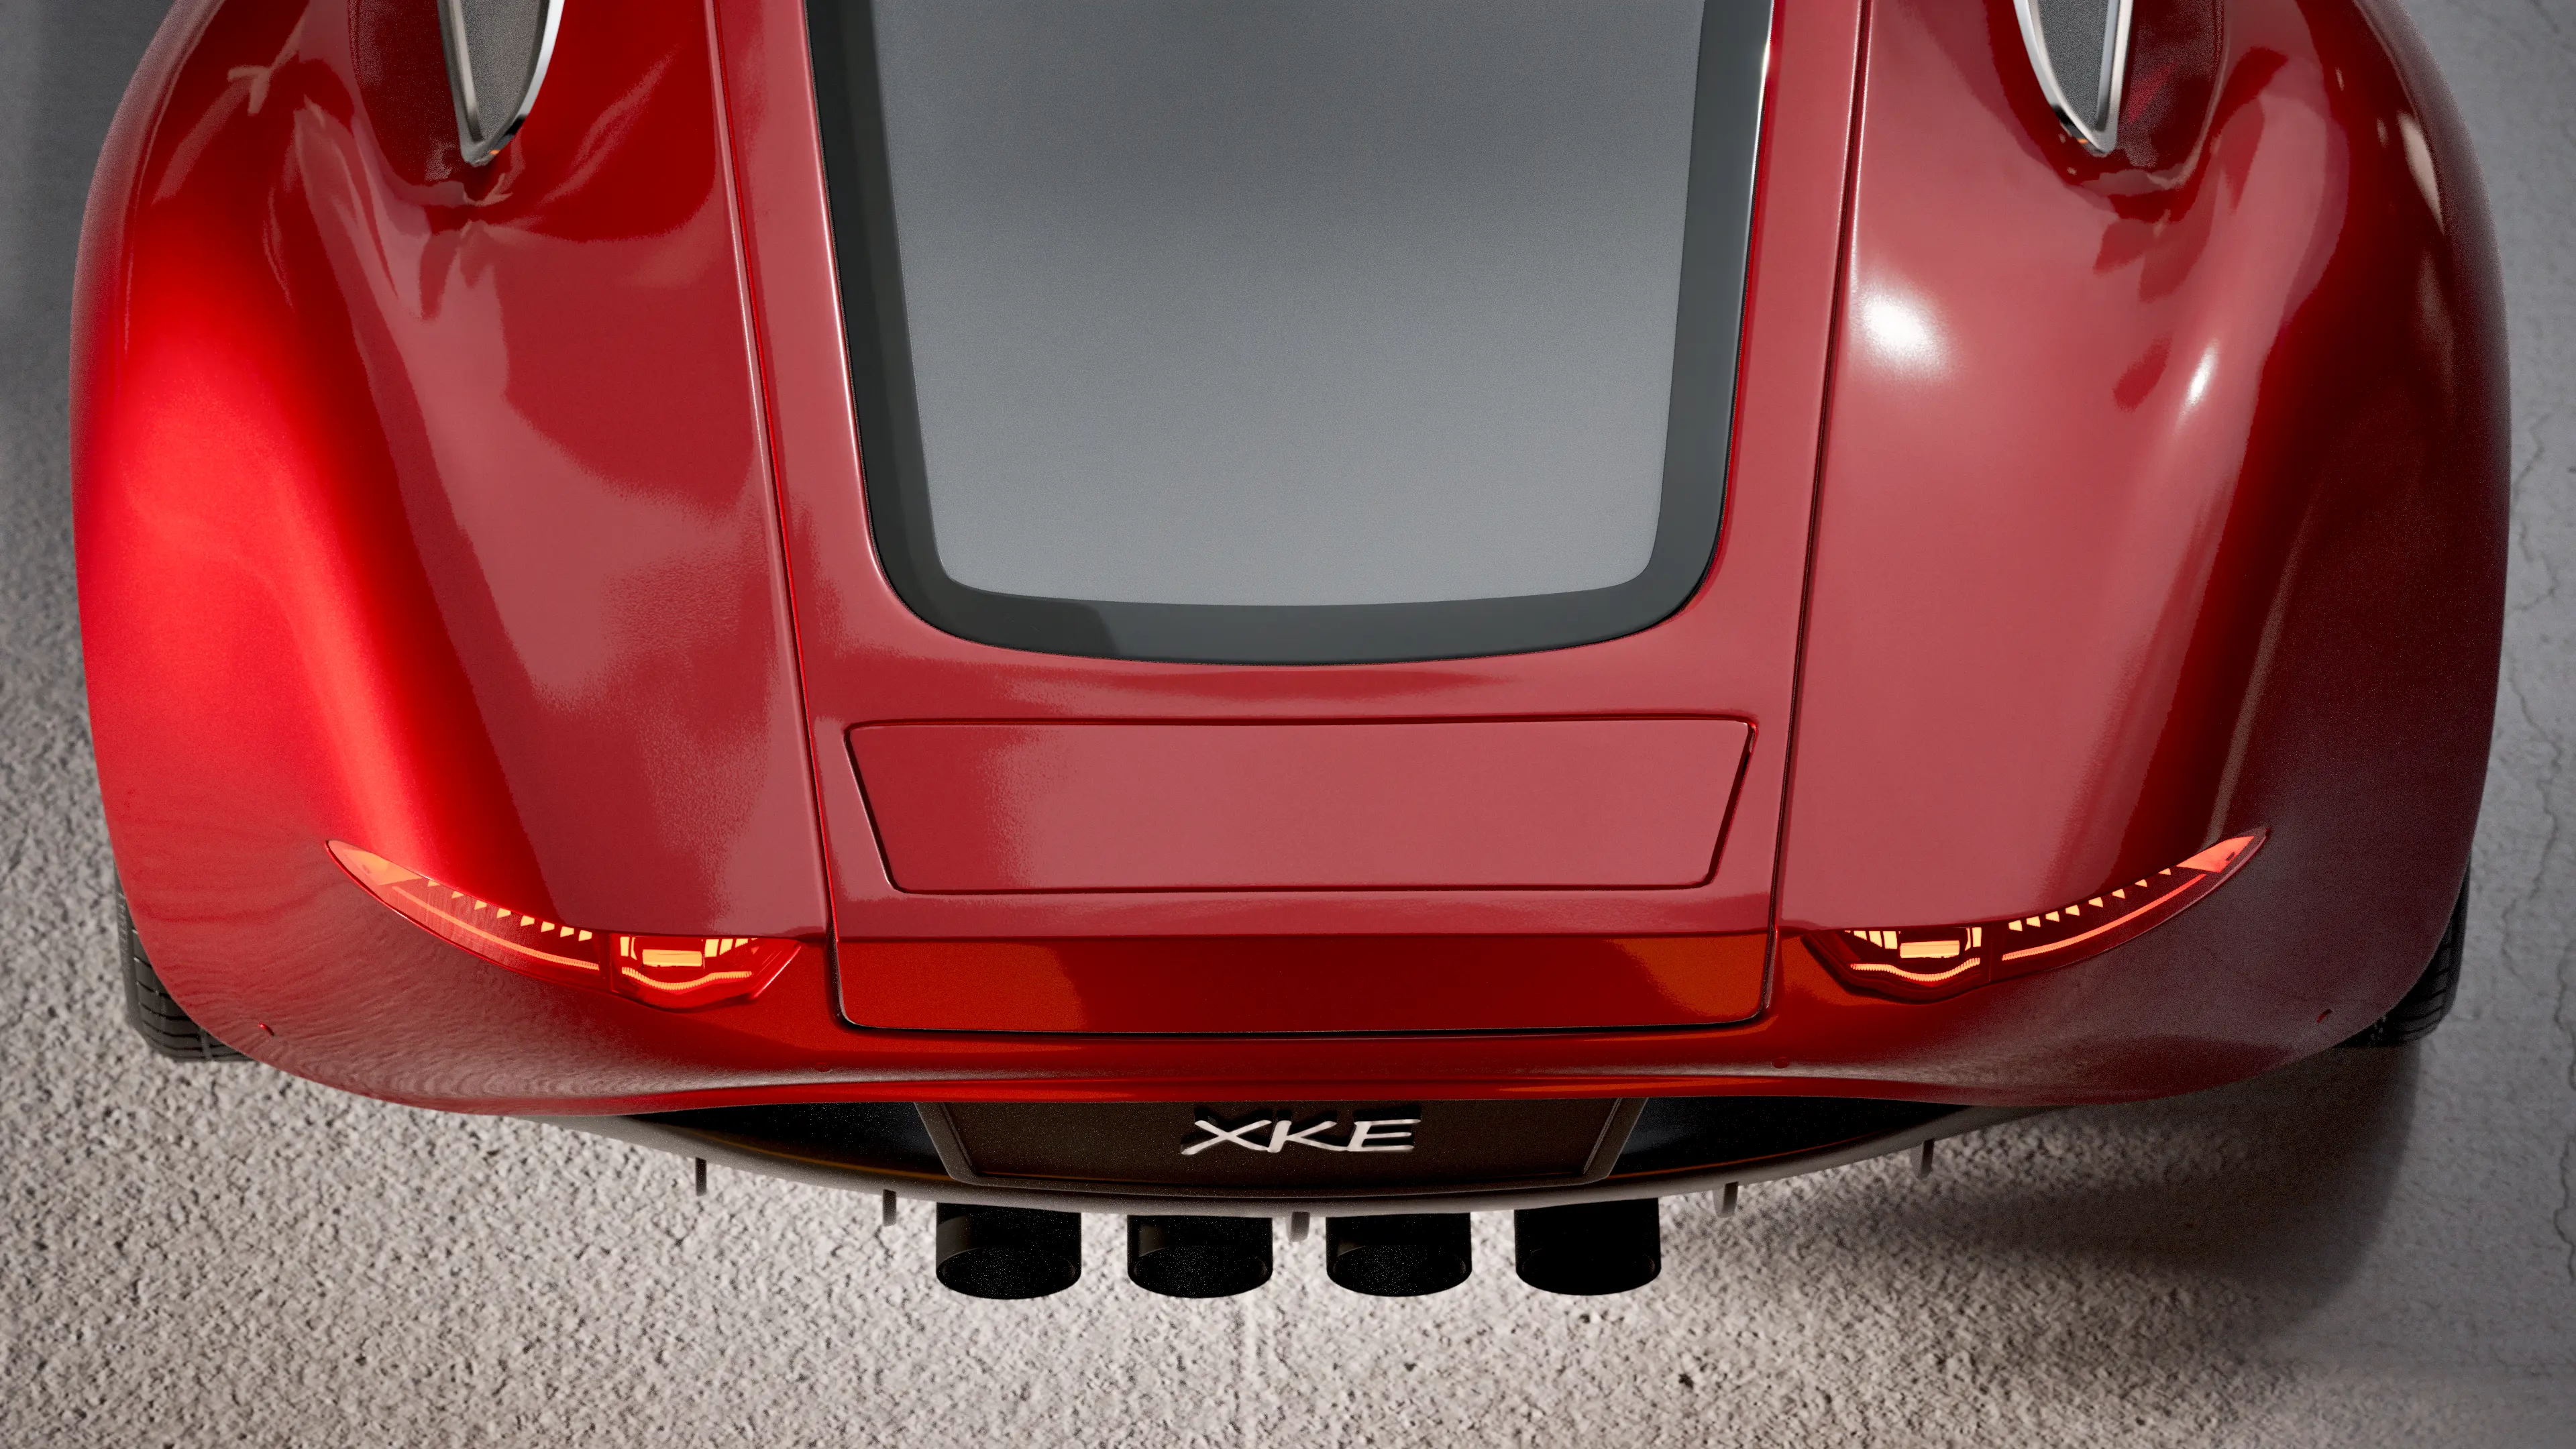
The next day we presented three models in three different colors — black, Ferrari red, and California sage green — as well as added the custom-made badge in chrome. The client took one day to think about the color and game back with red as the final choice. We then presented a few previews of the final renders with the Ferrari red model and the last change we the client requested was to increase the side of the badge by 150%.

Final Renders Set Up
Creating the final renders involved some background work. We opted for the studio-style surroundings in a dark palette and set up the lighting to highlight all the features of the car.
In two days we came back with the final renders of the custom-designed car. On top of that, we’ve added a few complimentary renders and close ups.


As we were having our last call with the client to finalize the project, a new request came up: the client wanted to “stretch” out the car — make it longer, keeping the same width, and the mouth even narrower. We were happy to make these changes, but it took us some time because stretching the vehicle is not that simple as all the details need ratio adjustments.
At that point, the project was completed and delivered, however we still modified the car over the next few days and showed the grey “stretched out” model to the client. He liked the change, and we decided to continue working with the new longer model when moving further on to the next phase of our project.

Bottom Line
The next phase is supposed to be us creating the interior of the car. The client mentioned a few times that he wants to keep our collaboration going and design the interior as the next step. He had already shared with us his vision and some references. Now we are just eagerly waiting to continue with the next part of this project. We have also suggested creating an animation of the car once the interior is complete. Overall, the project promises to have a fruitful collaboration in the future and we expect to produce spectacular results for our client. We urge you to keep an eye on this project and see for yourself.

Turn Ideas Into Visual Stories